
I was chatting with another Squarespace designer recently about domain transfers. He's newer to the Squarespace world and wanted to know how the process actually works. So I did what any reasonable person would do. I transferred a real domain and recorded the whole thing.
Below are the exact steps I take, with screenshots from every stage. I'm moving this domain out of Namecheap because that's where I usually register domains. If yours lives at GoDaddy or somewhere else, the buttons will be in different spots (you may have to go hunting a bit), but the process is the same.
First: do you even need to transfer?
Quick heads-up before we start. You don't have to transfer your domain to Squarespace. You can leave it right where it is and connect it to your Squarespace site instead.
I actually love connecting, because it takes a lot of the moving parts out. When you transfer a domain, there can be email downtime if your email runs through that domain. Sometimes DNS records go missing on the way over. There's a lot happening behind the scenes.
That said, there are two times when transferring makes a lot of sense:
It's a brand new domain. No email, no records, nothing to lose. Transfer away. (Email going down for a busy business owner is the stuff of my nightmares, so "nothing to lose" is the key phrase here.)
You want everything under one roof. I had a client who was done with his old registrar. He didn't want to keep paying them, didn't want the upsells, and just wanted one bill from Squarespace for everything website related. If that's the kind of simplicity you (or your client) want, transferring is the way to go.
If either of those sounds like you, here's how to do it.
Step 1: Back up your DNS records
Before you touch anything, log in to your current registrar and open the DNS settings. In Namecheap, that's the Advanced DNS tab.
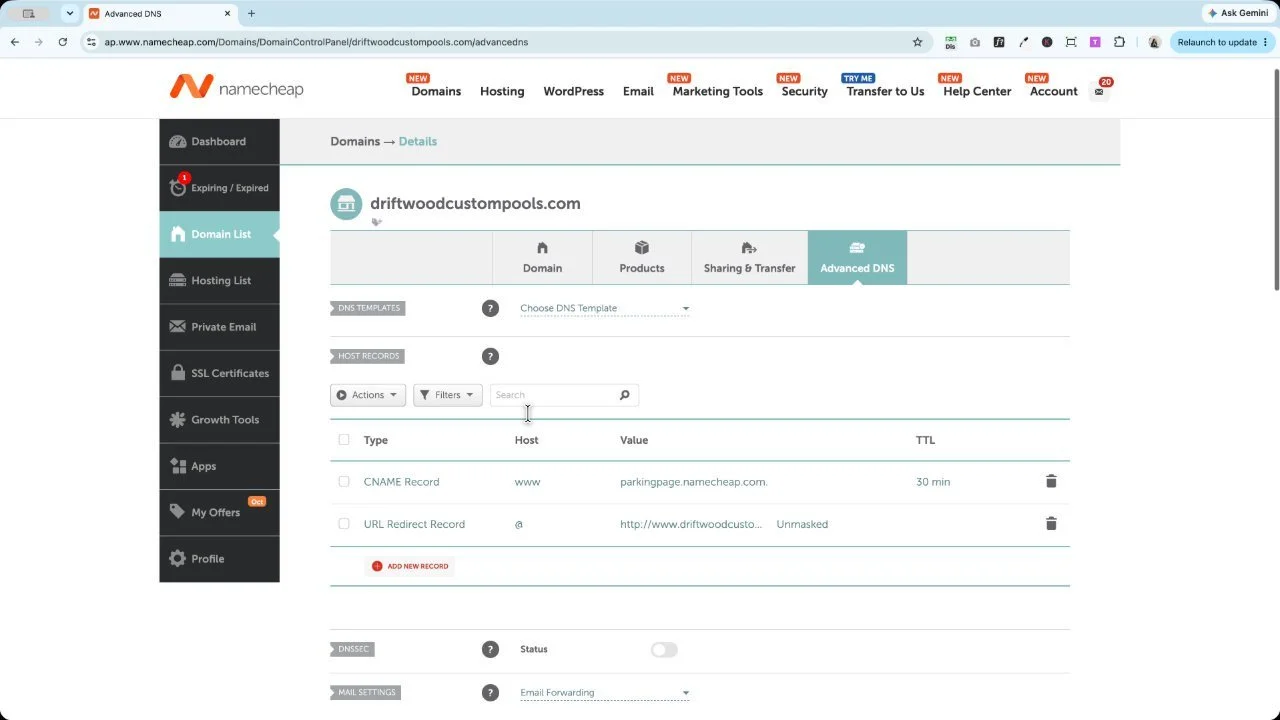
Your records should carry over during the transfer. Sometimes they don't. So copy every record on this page: CNAME records, TXT records, MX records, all of it. Paste them into a doc, take a screenshot, whatever works. This is your fail-safe, and you'll be glad you have it if something goes sideways.
Step 2: Start the transfer in Squarespace
Head to Squarespace's Transfer a Domain page and paste in your domain name. I copy and paste instead of typing it out. One typo and you're off chasing the wrong domain.
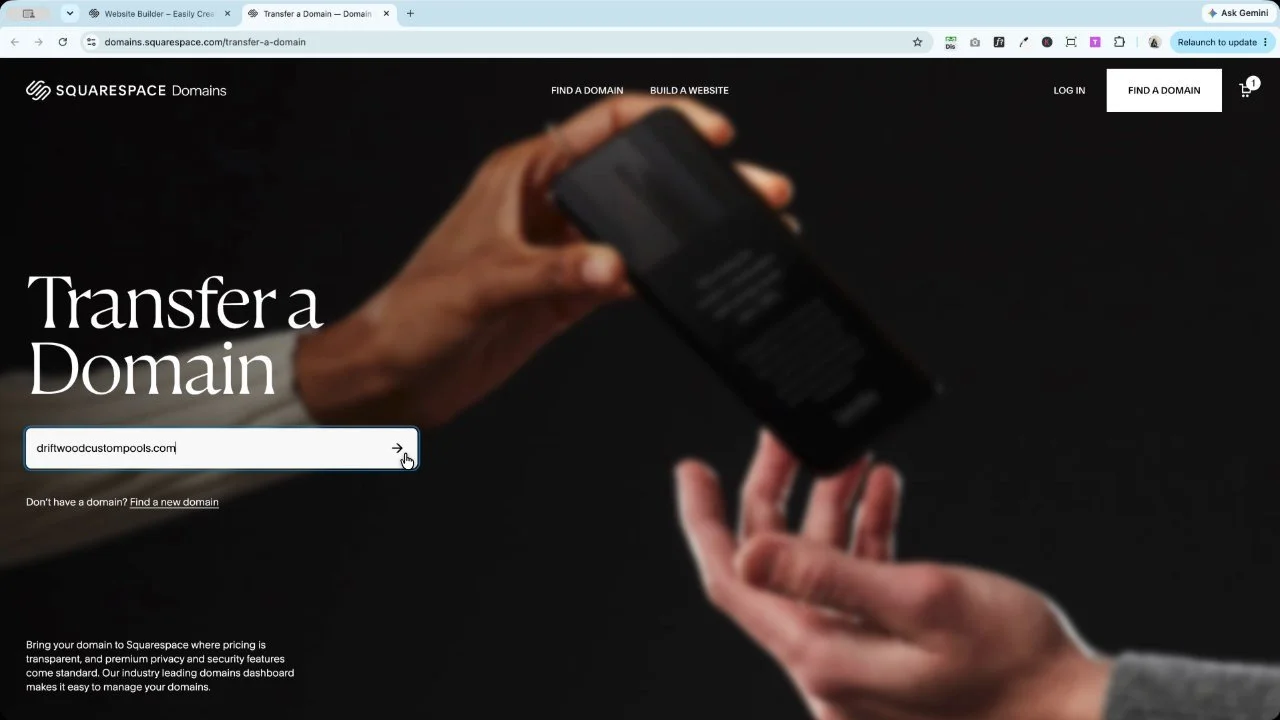
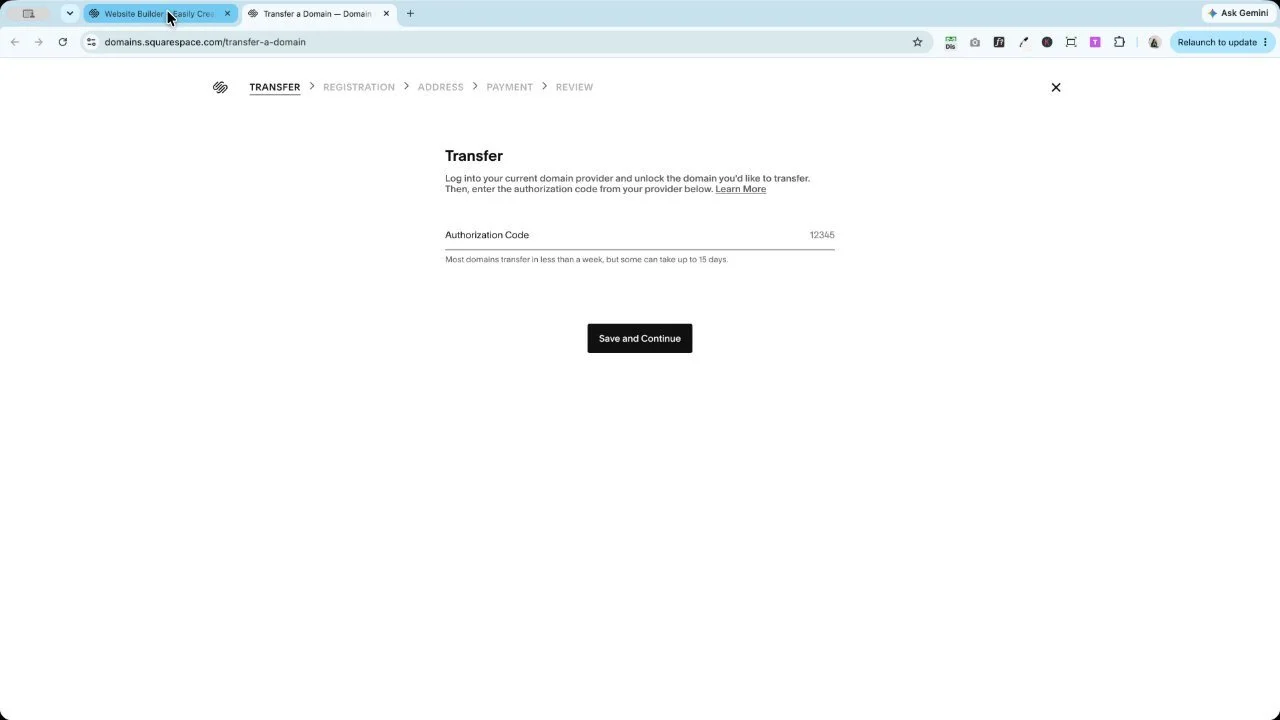
Squarespace takes you to the transfer screen and asks for an authorization code. You don't have that yet, so leave this tab open and head back to your registrar.
Step 3: Unlock your domain
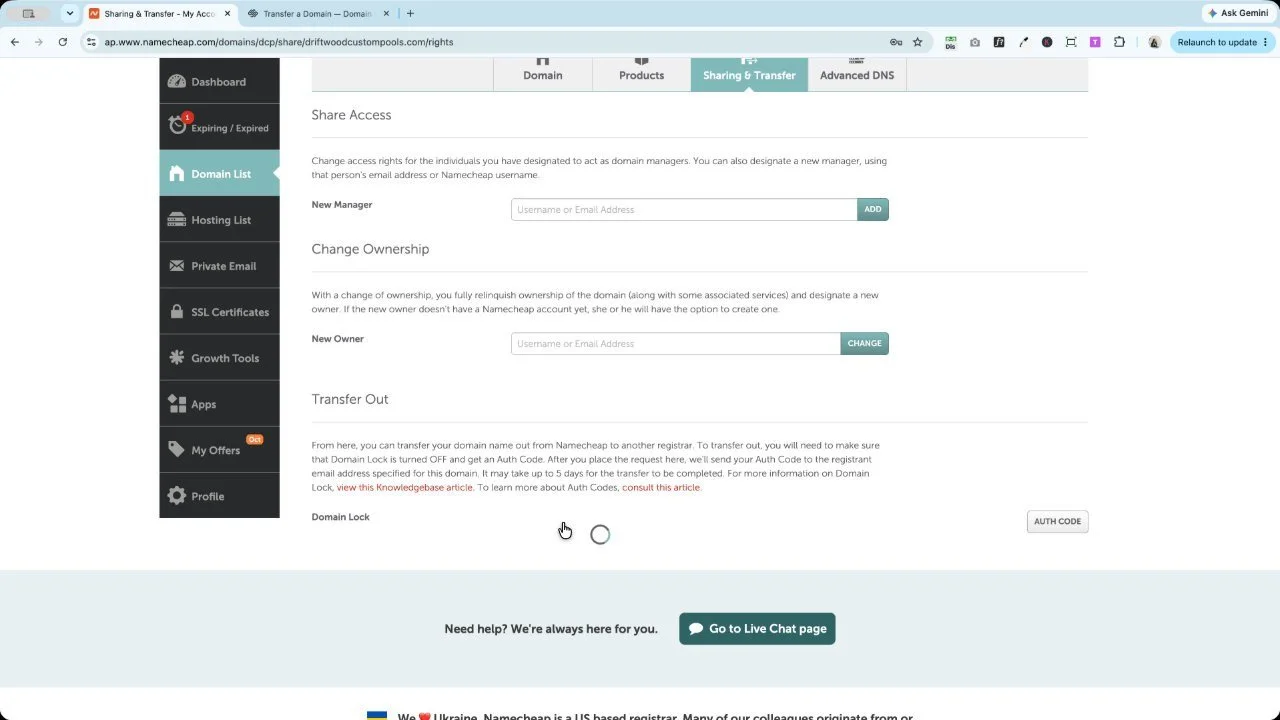
Domains are locked by default so nobody can move them without your permission. You need to unlock yours before it can go anywhere.
In Namecheap, open the Sharing & Transfer tab and scroll down to Transfer Out. You'll see Domain Lock there. Turn it off. (On other registrars, look for "transfer" or "lock" on the main domain screen.)
Step 4: Request your authorization code
Once the domain is unlocked, click Auth Code. Namecheap asks a quick question about why you're leaving (it's not you, Namecheap, it's me), then emails the code to the address on file for the domain. That email step is there for security, so make sure you can get into that inbox.
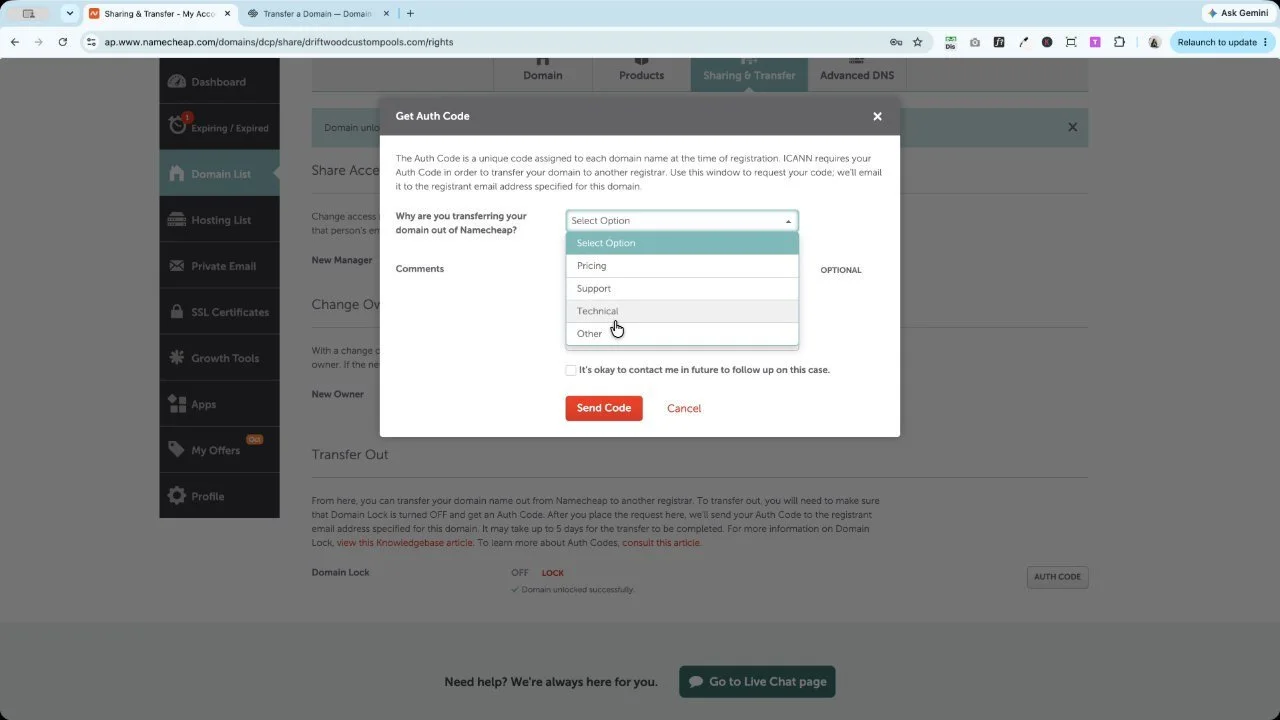
Step 5: Paste the code into Squarespace
Grab the code from your email, go back to your Squarespace tab, paste it in, and click Save and Continue.
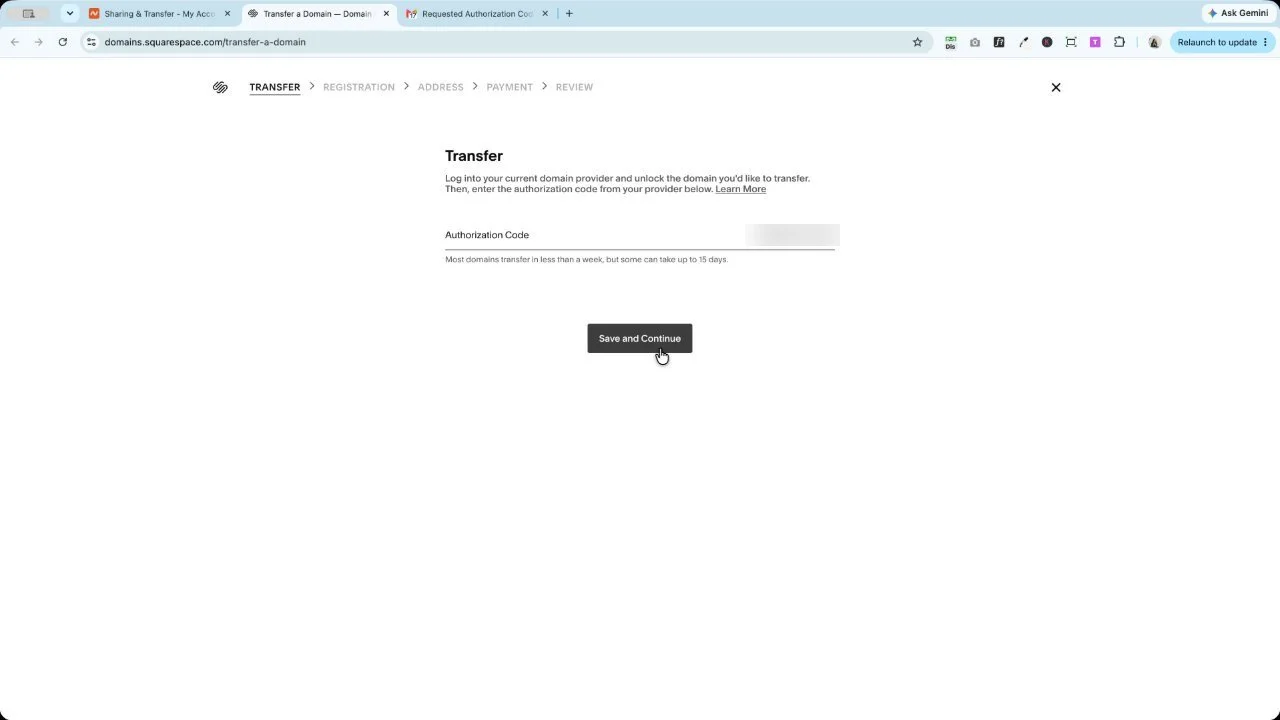
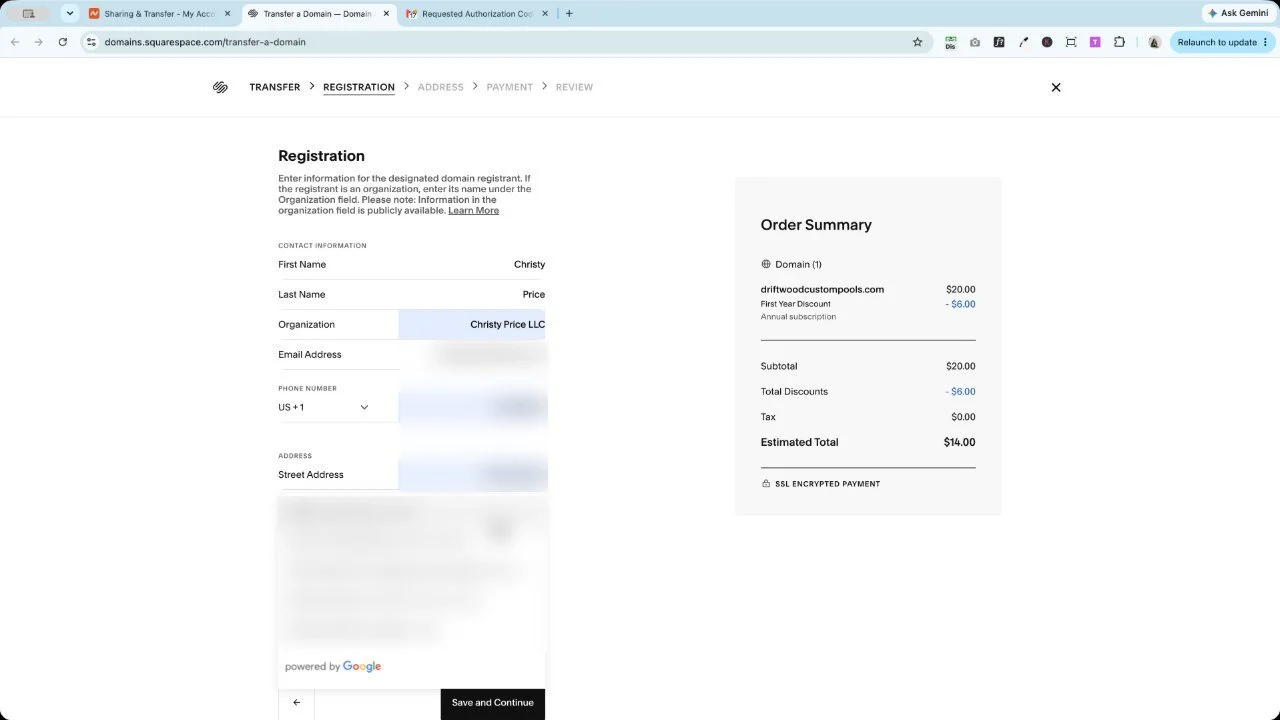
Step 6: Fill out registration, billing and payment
Next, Squarespace asks for the registrant details. If you're transferring a client's domain and plan to move it to their Squarespace account later, that's totally fine. Use your own info for now.
Then add your billing address and make the payment.
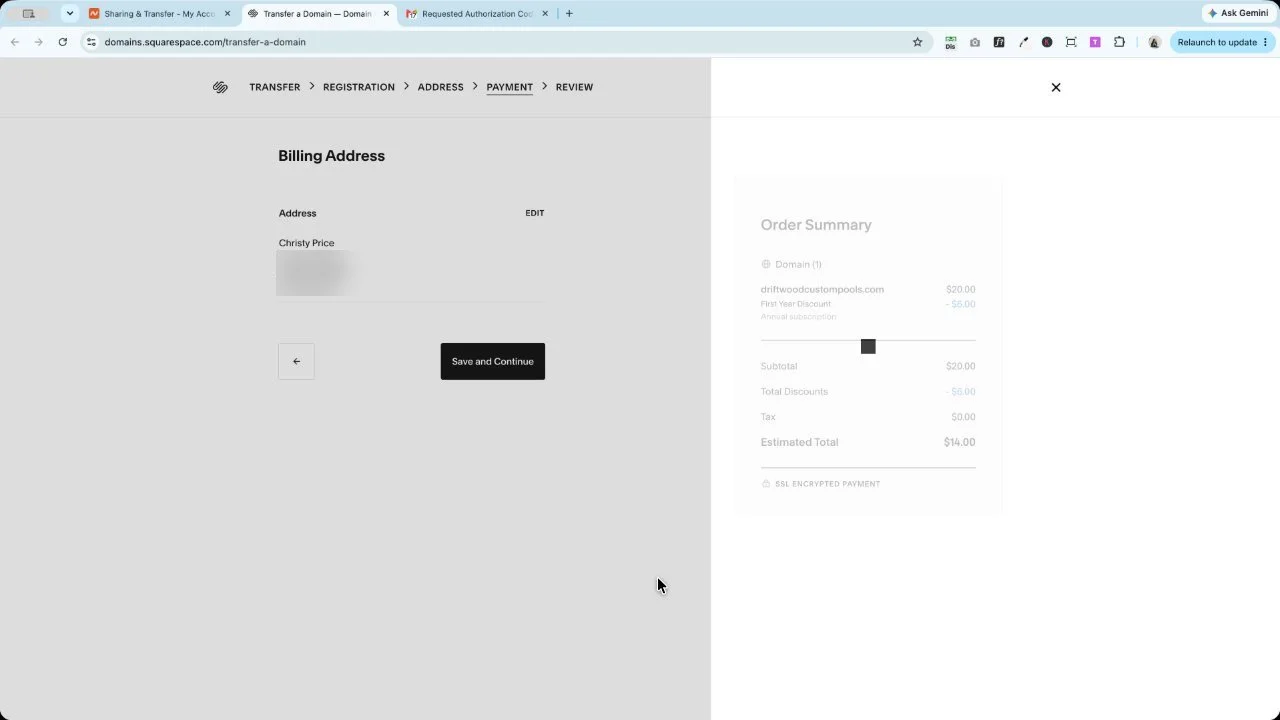
You'll notice a first-year discount in the order summary. A transfer comes with a full year of registration added on, so I won't walk through all the math. Basically, you're getting an extra year when you bring your domain over.
Step 7: Approve the transfer (if your registrar lets you)
Once you pay, Squarespace shows the domain as Transfer in progress, and you'll get an email letting you know it's started.
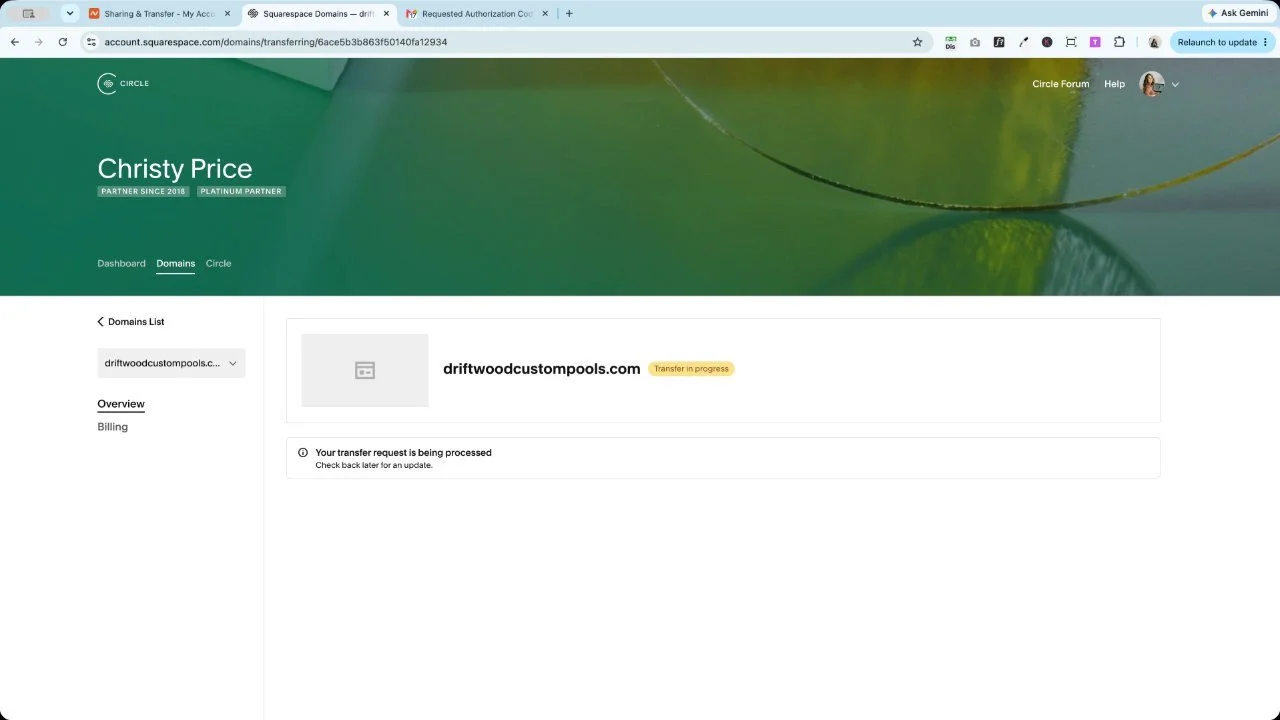
Your old registrar will email you too. With Namecheap, you don't have to do anything and the transfer goes through on its own in a few days. But they also give you the option to speed it up, and I always take it. Click Approve and confirm.
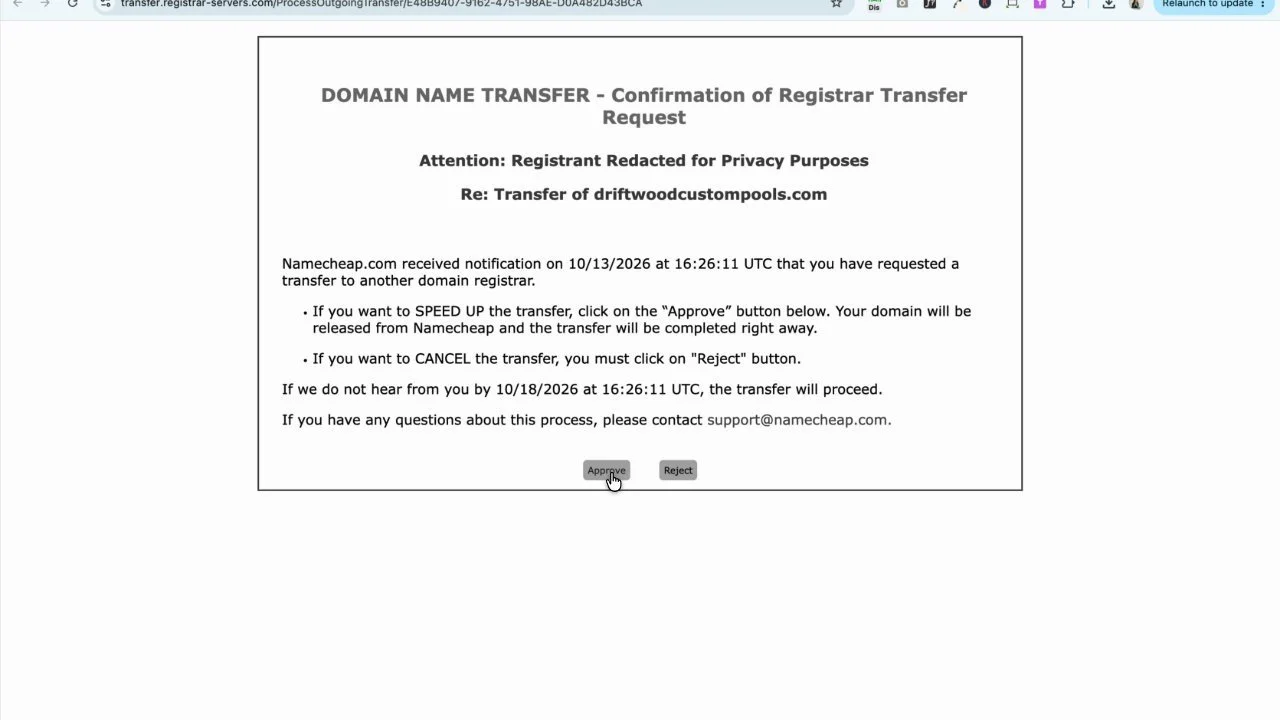
Not every registrar offers this. If you don't see it, just wait it out. Squarespace says most transfers finish in under a week, though some can take up to 15 days.
Step 8: Confirm it's active and check your DNS
When the "transferred successfully" email shows up, go back to Domains in Squarespace. Your domain should show as Active, with Squarespace as the provider. Check the renewal date too. Mine jumped to February 2028, which is that bonus year at work.
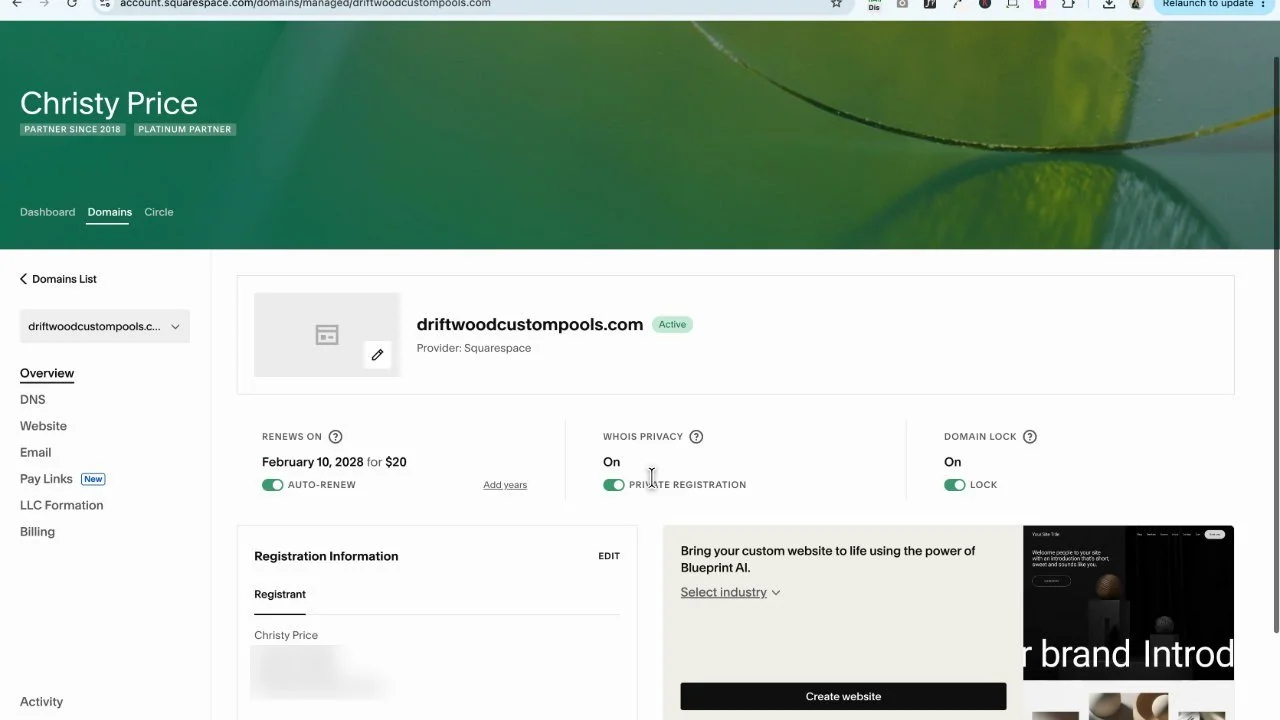
Last step: click into DNS Settings and make sure everything came over. In my case, Squarespace carried every record over automatically, so I didn't have to change a thing. It even brought along Namecheap's parking page record, which made me laugh since the domain now lives at Squarespace.
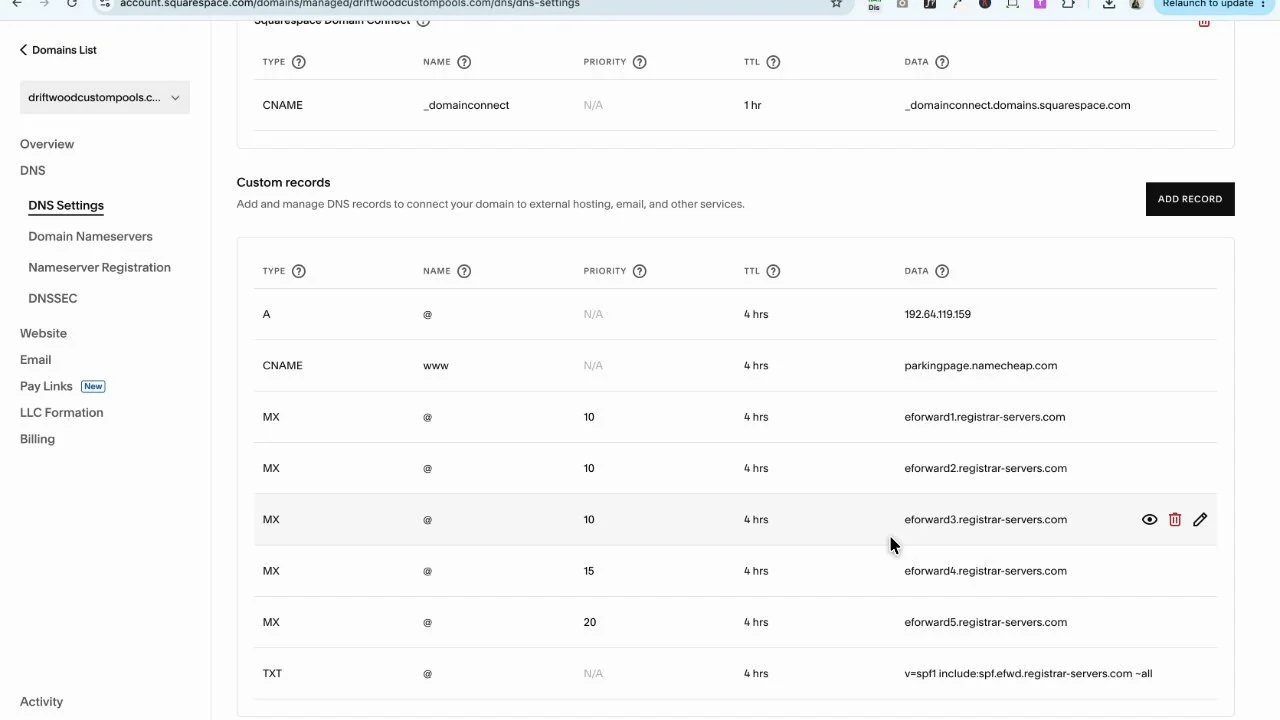
If anything is missing or looks off, this is where your backup from Step 1 earns its keep. Add the missing records here and you're back in business.
The best-case scenario (and what to expect if it isn't)
What you just saw was pretty much the best case. Everything went smoothly, which is rare when I'm recording. (Let's all take a moment to appreciate that the internet was on our side that day.)
Sometimes records get dropped. Sometimes the transfer takes longer because your registrar doesn't have that handy approve button. Neither one is a disaster as long as you backed up your DNS first and you're not in a rush.
From here, the domain is ready to connect to a website whenever you are. And if you're getting close to launch, my free Squarespace Prelaunch Checklist walks you through everything to check before you go live.
Watch the full walkthrough
Prefer to watch? Here's the whole process, start to finish.